We offer a wide collection of free, high-quality printable coloring pages for kids and adults. From cute animals to intricate mandalas, our designs bring creativity and relaxation to everyone. Download, print, and start coloring today!

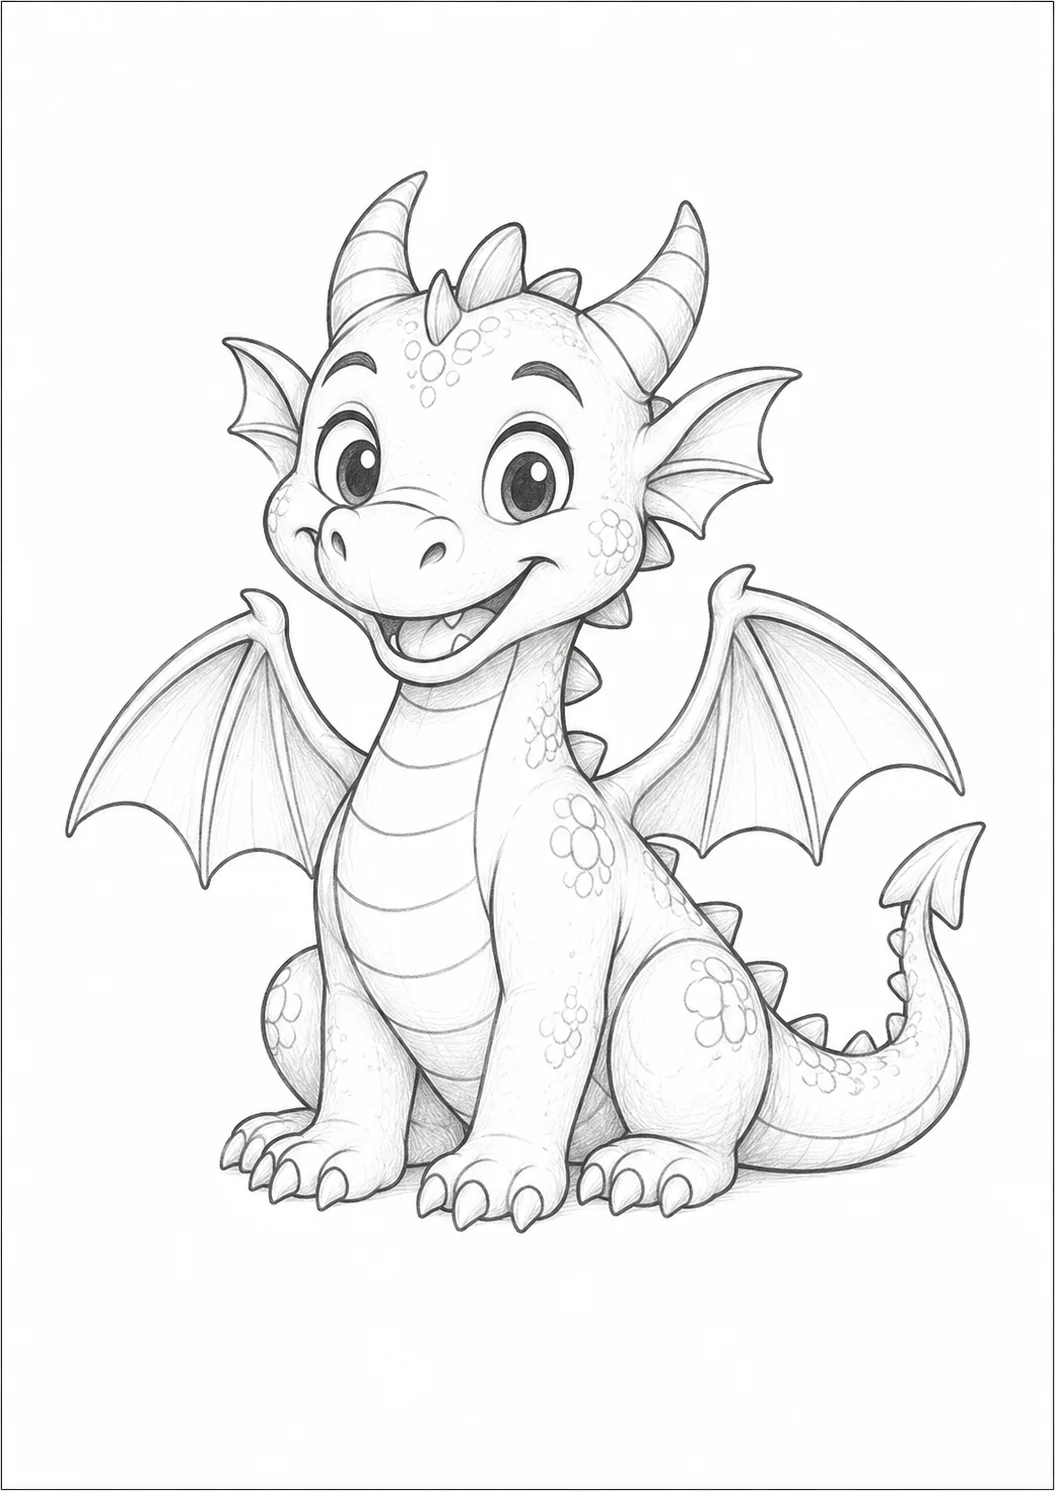
Dragons have fascinated artists for centuries because they combine features from many different animals while leaving plenty of room for creativity. If you’ve ever wondered how to draw a dragon, this beginner-friendly lesson will guide you through the process one simple step at a time. Instead of jumping straight into complicated details, you’ll build the drawing using easy shapes that gradually become a complete dragon.
Even if you’ve never drawn a fantasy creature before, don’t worry. This tutorial focuses on clear instructions, helpful tips, and simple techniques that anyone can follow. Grab your pencil, take your time, and enjoy the process. By the end of the lesson, you’ll have your very own dragon ready to color and personalize.
If you enjoy drawing animals, you’ll also love our complete guide to How to Draw Cute Animals, where you’ll find many beginner-friendly tutorials.
Table of Contents
Materials Needed
You don’t need expensive art supplies to complete this drawing. Gather these simple materials before you begin.
- Pencil
- Eraser
- Black fineliner (optional)
- Colored pencils, crayons, or markers
- Drawing paper

Step 1 – Draw the Head Shape
Start with a medium-sized circle near the upper left side of your paper. This circle becomes the dragon’s head and serves as the foundation for the rest of the drawing. Avoid pressing too hard with your pencil because these are construction lines that you’ll erase later. Leave plenty of space below and to the right for the dragon’s body, wings, and long tail.
Many beginners make the head too small, leaving little room for facial details. A slightly larger circle makes the next steps much easier. Try to keep the circle as round as possible, but remember that perfection isn’t necessary. A dragon is a fantasy creature, so small imperfections can even add personality.
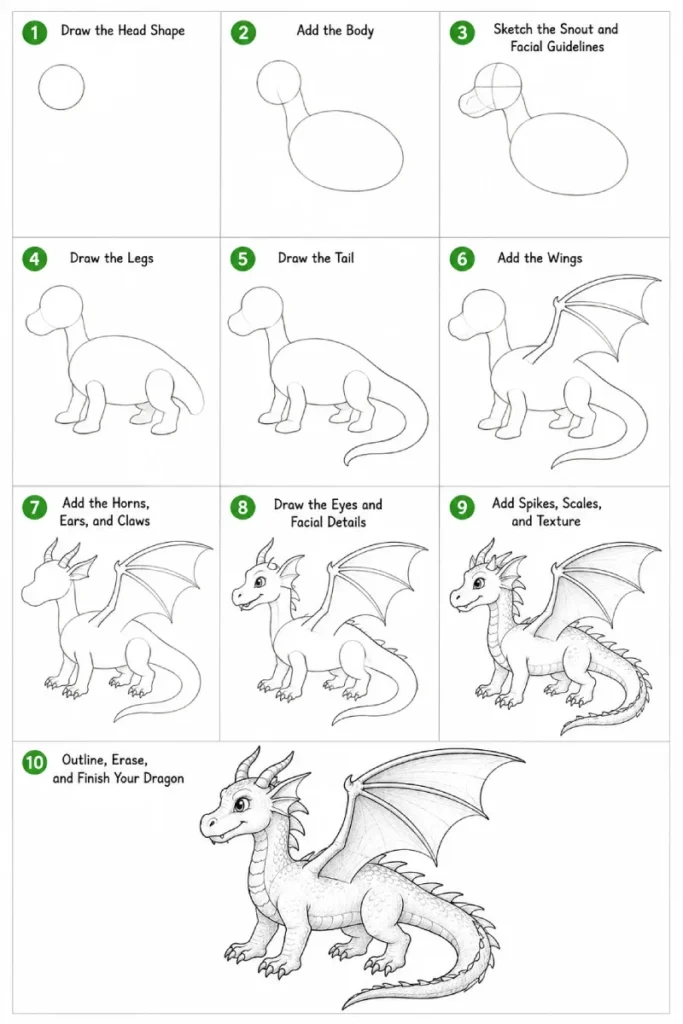
Step 2 – Add the Body
Draw a larger oval below and slightly behind the head. This becomes the dragon’s body. Connect the head and body using two gently curved lines to create the neck. Keep the body proportional so it looks balanced with the head.
The body should be large enough to support wings and legs later. If it feels too small, lightly adjust the oval before moving on. Using simple shapes makes it easier to fix mistakes before adding details. Think of the body as a framework rather than the finished drawing.
Step 3 – Sketch the Snout and Facial Guidelines
Extend a rounded shape from the front of the head to create the dragon’s snout. Add a vertical and horizontal guideline across the face to help position the eyes and nose later. These guidelines keep the facial features symmetrical and balanced.
Avoid making the snout too long unless you want a fierce-looking dragon. A shorter, rounded snout gives the dragon a friendlier appearance, making this tutorial suitable for beginners and children. Light sketch lines make adjustments easy as your drawing develops.
Step 4 – Draw the Legs
Using simple cylinders, sketch two front legs and two back legs attached to the body. Finish each leg with rounded feet that will later become claws. Don’t worry about muscles or scales yet. Focus on getting the overall pose balanced.
A common mistake is drawing very thin legs that don’t appear strong enough to support the dragon. Slightly thicker legs create a sturdier appearance. Since dragons are imaginary, you can choose whether your dragon looks powerful or playful.
If you’d like more practice drawing animal legs, our tutorials on How to Draw a Horse and How to Draw a Lion are excellent next steps.
Step 5 – Draw the Tail
Extend a long curved line from the back of the body. Bring another curved line back toward the body to create a thick tail that gradually becomes thinner near the tip. Let the tail curve naturally across the page to give your dragon movement.
Avoid making the tail the same thickness all the way through. Tapering it creates a more realistic and elegant appearance. A gentle curve also makes the dragon feel more alive than a perfectly straight tail.
The long body shape is similar to animals like a snake or even some poses found in our How to Draw a Dinosaur tutorial.
Step 6 – Add the Wings
Dragons are known for their impressive wings, so this is where your drawing really begins to look like a fantasy creature. Start by sketching two large wing frames attached to the dragon’s shoulders. Each wing should begin with a long curved arm that stretches upward and outward before gently bending back. Once the main structure is in place, connect the wing supports with curved membrane lines to create the classic bat-like appearance.
Try to make both wings similar in size so the dragon looks balanced. If one wing appears much larger, lightly erase and adjust it before moving on. Remember that the wings don’t need to be perfectly symmetrical because the dragon is shown from an angle. Large wings make your dragon appear powerful, while slightly smaller wings create a cuter style.
If you enjoy drawing wings, you might also like our guides on How to Draw a Bat and How to Draw a Butterfly.
Step 7 – Add the Horns, Ears, and Claws
Your dragon is beginning to take shape, so it’s time to give it more personality. Draw two curved horns extending from the top of the head. You can make them long and dramatic or short and rounded depending on the style you prefer. Add small pointed ears behind the horns, then return to each foot and draw three or four simple claws.
Keep the claws small enough that they don’t overwhelm the feet. Many beginners accidentally draw oversized claws that make the dragon look awkward. Small details usually create a cleaner, more believable design. This is also a good moment to add tiny nostrils and a smiling mouth if you want your dragon to look friendly instead of fierce.
For more practice drawing expressive faces, take a look at How to Draw a Fox or How to Draw a Bear.
Step 8 – Draw the Eyes and Facial Details
Now it’s time to bring your dragon to life by adding its facial features. Begin by drawing a large eye using the guidelines you sketched earlier. A rounded eye with a small pupil creates a friendly dragon, while a narrower eye gives it a more powerful expression. Add a curved eyebrow above the eye, a small nostril on the snout, and a smiling mouth. If you like, include a few pointed teeth showing from the upper jaw.
Avoid crowding too many details into the face. A few well-placed features usually look much better than adding every possible detail. Keep your pencil strokes light so you can make adjustments before outlining. Remember that expressions can completely change your dragon’s personality, so have fun experimenting until you’re happy with the result.
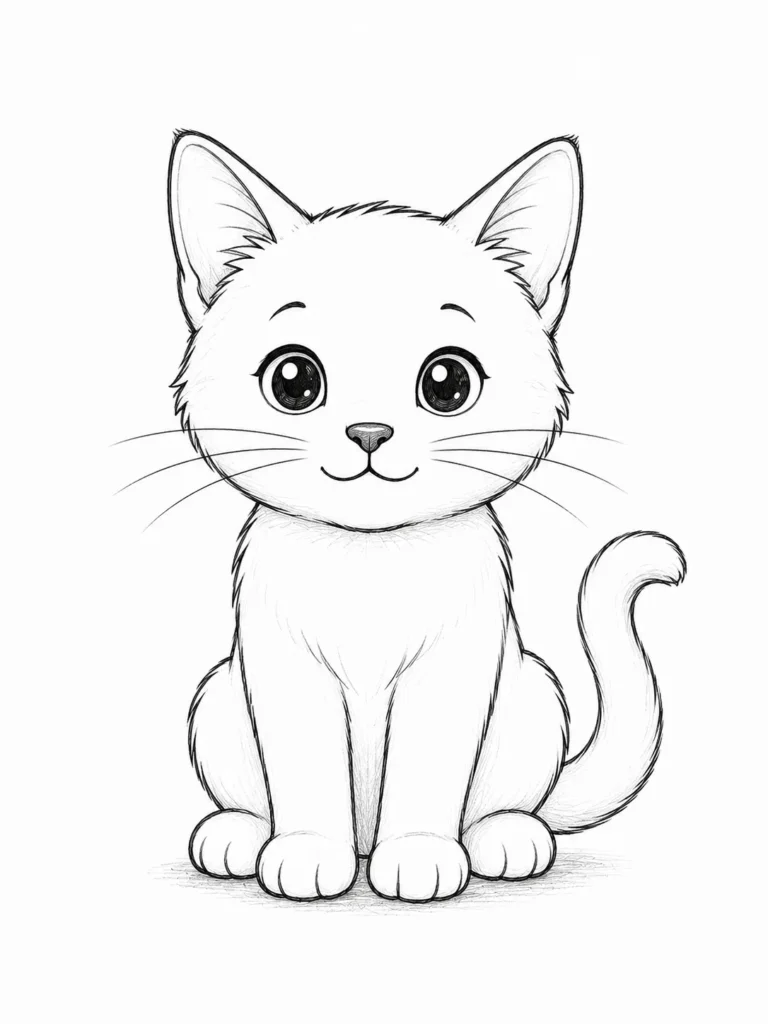
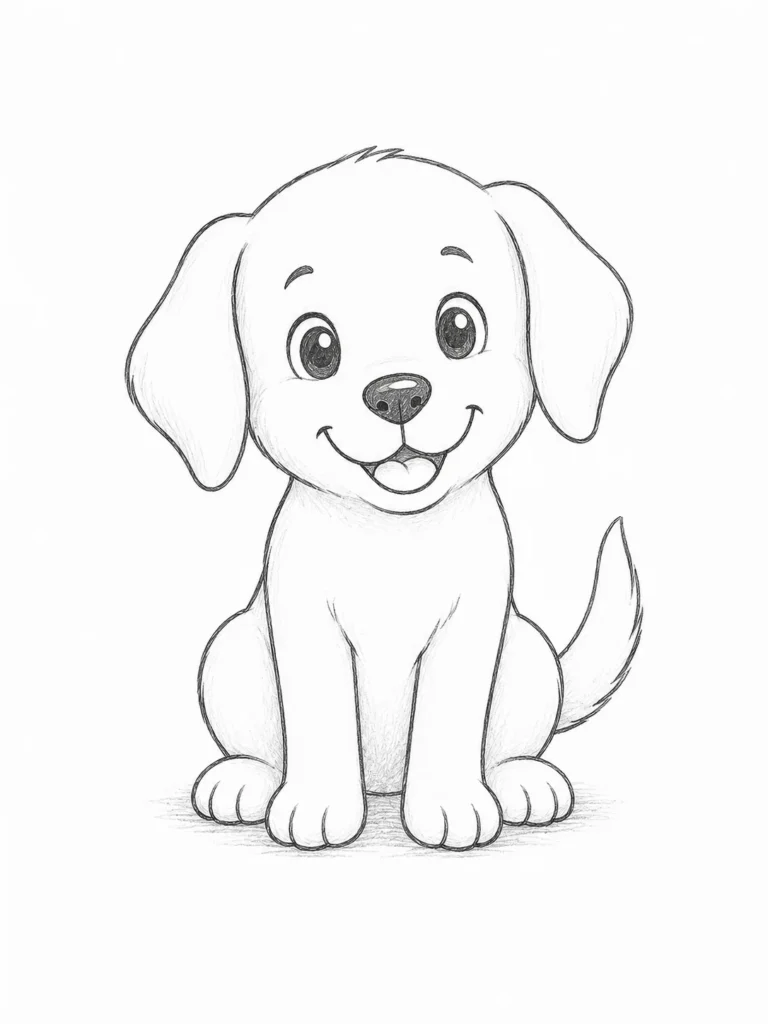
If you enjoy drawing expressive animals, be sure to try our tutorials on How to Draw a Cat and How to Draw a Dog.
Step 9 – Add Spikes, Scales, and Texture
This is where your dragon starts to look truly magical. Draw a row of triangular spikes running from the back of the head down the neck and along the spine to the end of the tail. Add a few curved scale patterns across the neck, chest, and body. You don’t need to cover the entire dragon with scales. Placing them in small groups keeps the drawing clean and easy to follow.
Many beginners try to draw hundreds of tiny scales, but that usually makes the artwork look cluttered. Instead, focus on suggesting texture with simple curved shapes. Add a few lines inside the wings to represent the wing supports and include short lines around the joints to give the dragon more structure. These small details make a big difference without making the lesson difficult.
You can also find inspiration in our tutorials on How to Draw a Dinosaur, How to Draw a Shark, and How to Draw a Turtle, which each explore different textures and body shapes.
Step 10 – Outline, Erase, and Finish Your Dragon
Your dragon sketch is complete, so it’s time to clean everything up. Carefully trace the final outline with darker pencil lines or a black fineliner if you want a bold finished drawing. Once the ink or dark pencil lines are dry, erase all of the construction circles, ovals, and guidelines. Take a final look at the proportions and make any small adjustments before adding color.
A common mistake is rushing through the finishing stage. Slow down and check each part of your drawing before you erase the sketch lines. This extra minute often makes the biggest improvement. Congratulations—you’ve successfully learned how to draw a dragon step by step! Every dragon you draw afterward can become even more creative by changing the horns, wings, tail, or body shape.
If you’re ready for another fun drawing challenge, continue with How to Draw a Unicorn, How to Draw a Bunny, or How to Draw a Panda.
Drawing Tips
Learning how to draw a dragon easy becomes much simpler when you focus on one shape at a time. Start with light construction lines so they’re easy to erase later. Compare the size of the head, body, wings, and tail before adding details, and don’t be afraid to erase and redraw if something feels out of proportion. Looking at real animals such as birds, bats, reptiles, and large cats can also inspire believable dragon designs.
If you’d like more drawing practice, our tutorials on How to Draw a Fish, How to Draw a Duck, How to Draw a Chicken, and How to Draw a Frog are excellent ways to improve your confidence with different body shapes.
Common Mistakes
One of the most common mistakes is drawing the wings too small for the body. Large wings usually create a stronger and more balanced dragon design. Another mistake is making the tail the same width from beginning to end. A tapered tail feels much more natural. Some beginners also press too hard with their pencil during the first few steps, making construction lines difficult to erase. Keeping those early lines light will make your finished drawing look much cleaner.
Coloring Ideas
There are countless ways to color your dragon. Try classic green with darker green scales for a traditional fantasy look, or choose bright red, blue, purple, or even gold to create a unique mythical creature. You can blend lighter colors on the belly and wings while using darker shades along the back and tail to add depth. Metallic pencils or gel pens also work well for horns, claws, and magical accents.
Don’t forget the background. A mountain landscape, castle, cave, or cloudy sky can turn your finished dragon into a complete fantasy scene.
Frequently Asked Questions
Is this dragon tutorial suitable for beginners?
Yes. This lesson is designed for children, parents, teachers, and adult beginners. Every stage uses simple shapes that gradually become a complete dragon.
How long does it take to draw a dragon?
Most beginners can finish this drawing in about 30 to 60 minutes, depending on how much detail they choose to add.
Can I make my dragon look different?
Absolutely. Try changing the horns, wings, spikes, tail, or facial expression to create your own original dragon.
Should I color my dragon?
Coloring is optional, but it adds personality and helps bring your fantasy creature to life. Experiment with different color combinations to create a dragon that’s completely unique.